Learn how to install WordPress on Bluehost in a few easy steps.
If you need to learn how to install WordPress on Bluehost quickly, you are in the right place. WordPress started as a blogging site, but it has grown to become one of the easiest ways for people to create a website or a blog. WordPress is the chosen platform for more than one-third of the websites on the internet, and it is an open source content management system that anyone can use for free. WordPress makes it possible for people everywhere to build their own websites. That said, you will need web hosting for your WordPress site. Bluehost provides you with the hosting, storage, and bandwidth you need, and it also has one-click WordPress installation. Continue reading to learn how to install WordPress on Bluehost.
How to Install WordPress on Bluehost: Step-by-Step Guide
1. Sign up for a Bluehost Hosting

The first step you need to take BEFORE you actually get to learn how to install WordPress on Bluehost is to visit Bluehost and sign up for a hosting plan. There are four different plans, including the following:
- Shared hosting.
- Virtual private servers.
- WordPress hosting.
- Dedicated servers.
You can choose the one that is best for you. When you sign onto the Bluehost website, you can learn all about these different types of hosting plans. If you are just starting out, you can consider the inexpensive WordPress shared hosting plan. It’s just $2.95 a month, and it includes free one-click WordPress installation.
2. Choose a Plan
Once you decide what kind of hosting you want, you need to choose a plan. Bluehost offers four different plans, including:

- Basic: $2.95 per month
- Plus: $5.45 per month
- Choice Plus: $5.45 per month
The Basic plan is fine to start. It allows you one website, and it includes WordPress one-click installation. If you plan to have other websites, you can upgrade to one of the other plans, but the Basic plan is a great place to start.
3. Choose a Domain Name
When you sign up for Bluehost, you get a free domain name. You can enter the domain name you want to use in the search bar, and Bluehost will tell you if it is available. Choosing your domain name is important because it is the first thing people see about your business. Your name can impact whether or not people visit and remember your site.
4. Add Your Personal Details
After you choose your domain name, the next step is to enter your personal details. They will ask your name, address, business name, phone number, and email. You can fill this screen out, and then scroll down.
They will next ask you to confirm your package and the extras you want to add on. There are a number of addons to consider:

- Domain Privacy Protection: This will help you keep your personal information private.
- SiteLock Security: This will verify your email, your address, and your phone number, and it can give you credibility.
- CodeGuard Basic: This one gives your site security by letting you back it up.
- Bluehost SEO Tools Start: Bluehost says it will help you get search engine rankings.
- 1 Office 365 Mailbox: This platform is powered by Microsoft.
Once you choose which ones you want, you will see the total added together. Bluehost has a 30-day money-back guarantee, so you can try out any of these features to see how they work for you.
5. Install WordPress

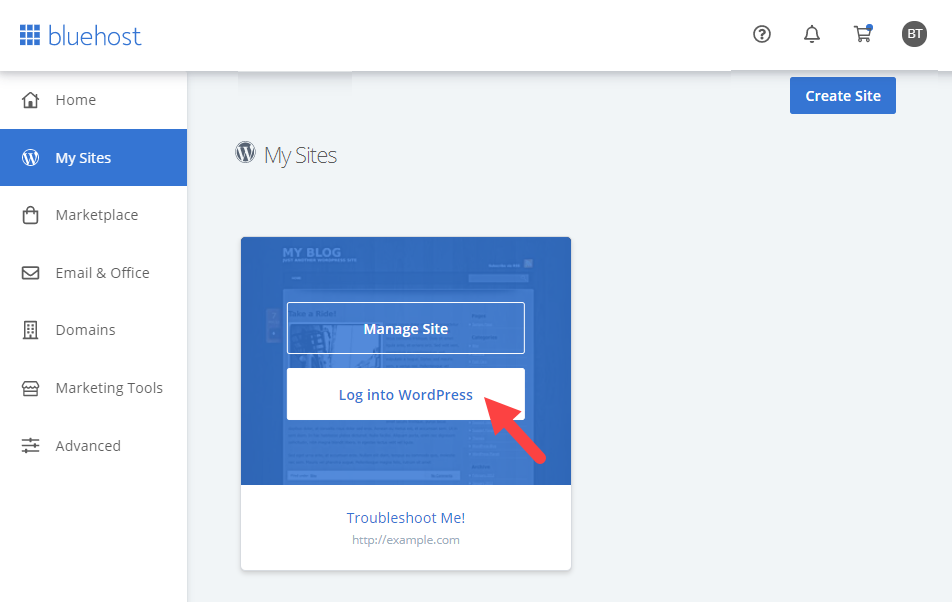
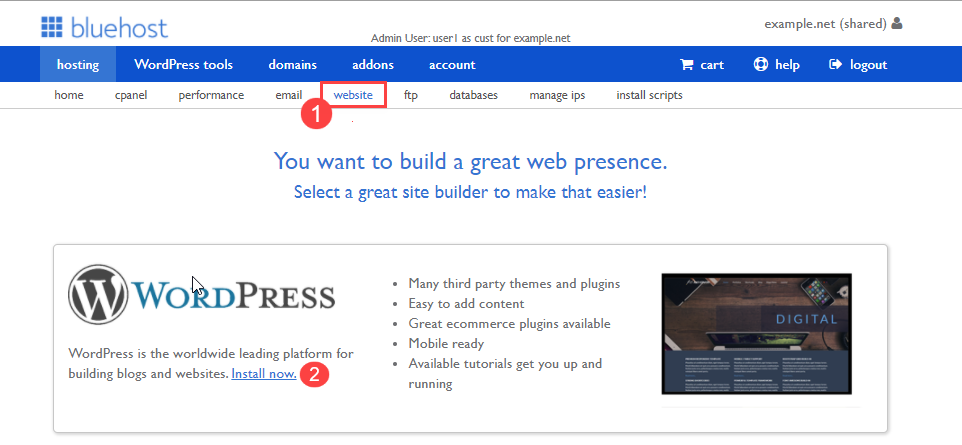
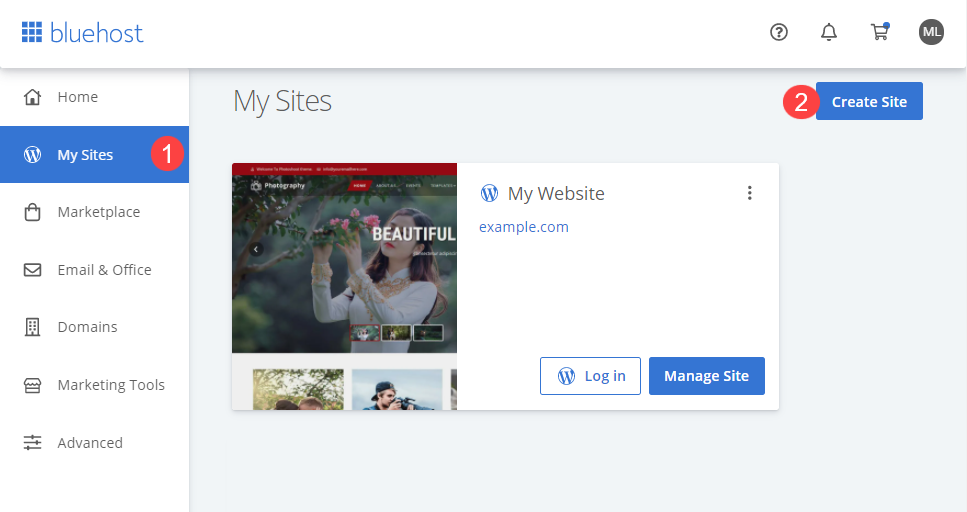
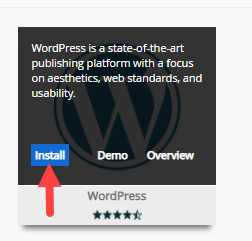
Learning how to install WordPress on Bluehost is easy once you reach this step. You can use one-click installation. You can sign into your Bluehost account, and then click “My Sites.” You can choose “Create Site” next. Now you will be asked to give your WordPress site a name and a tagline. You can then choose the domain you want to use for this WordPress website, and you will create a password.
Next, you will choose a theme. You can choose any of the free themes or any other themes you might already have. Now, you can get started creating your WordPress site.
6. Build Your Website
Once you have everything done, you can start building your website. You will see all kinds of options, and you can choose which one you want to do first. You can customize your design, which includes choosing the colors, fonts, and layouts for your site.

You can also add a contact page, where you include your address, email, and phone number. This allows visitors to contact you. You can import your logo and other images and videos, and you can customize your site. You can also add content to your site. You can write articles and other information that your visitors will see when they come to your site. You can also add pages to your site and set up the navigation so that people can find your information.
Final Words
Getting started with a new WordPress website can be an overwhelming prospect, but it is made easy with Bluehost. You will have no trouble learning how to install WordPress on Bluehost. You need to choose a hosting plan, and they do have several different options. There are different plans within each hosting option, so you can choose the one that is best for you.

The shared hosting plan is ideal for people who are starting out because it is inexpensive and comes with free WordPress one-click installation. It is very easy to follow the steps as they come up on the screens, and then you can get to work creating your website.
You will get free themes with your WordPress site, so you can choose the one that best represents your business. You will choose your theme, and then you can start creating your content. You need to update your contact information, and you can add pages. You can create content for your visitors so that they continue coming back to your site.
It is easy to install WordPress on Bluehost, and it only takes a few steps. They also offer a money-back guarantee for 30 days, so you do it risk free. Once you sign up for a plan, you simply install WordPress in one click and start building your site.


